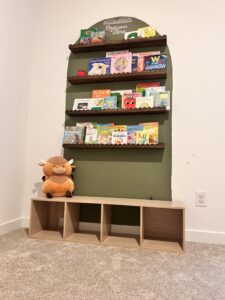
A little corner for big imaginations.
Ever since I found out I was having a daughter, I knew I wanted books to be a big part of her childhood. Reading is one of those things that feels so fundamental, yet I didn’t truly appreciate how much fun it could be until I became an adult. So from the very beginning, I’ve been intentional about making books a part of her everyday life—reading together during nap time, winding down with a story before bed, or simply picking up a book while we play.
So when we moved into our home, creating a reading nook for her was immediately at the top of my list.
I had seen another creator online create a similar space for her children, and I was completely inspired. I loved the idea of taking an otherwise unused corner and turning it into a little world just for her—a place where books could be within reach and reading could feel exciting.
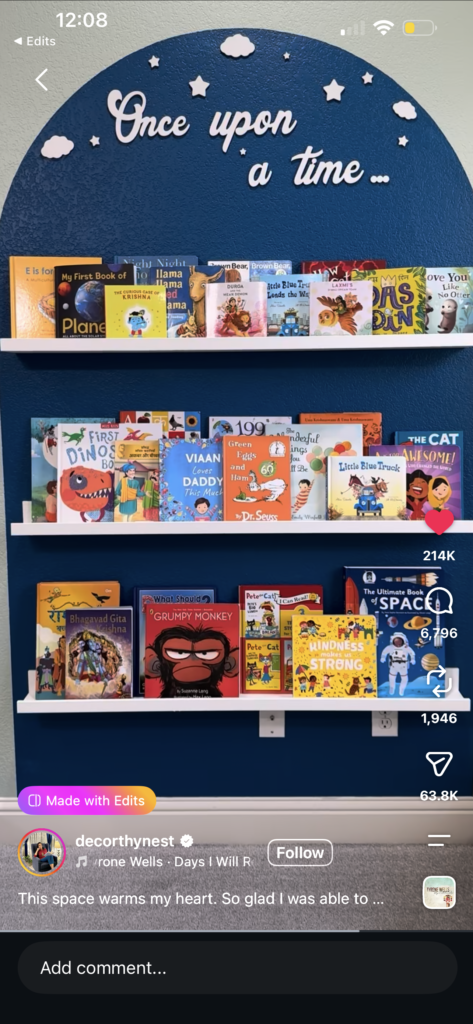
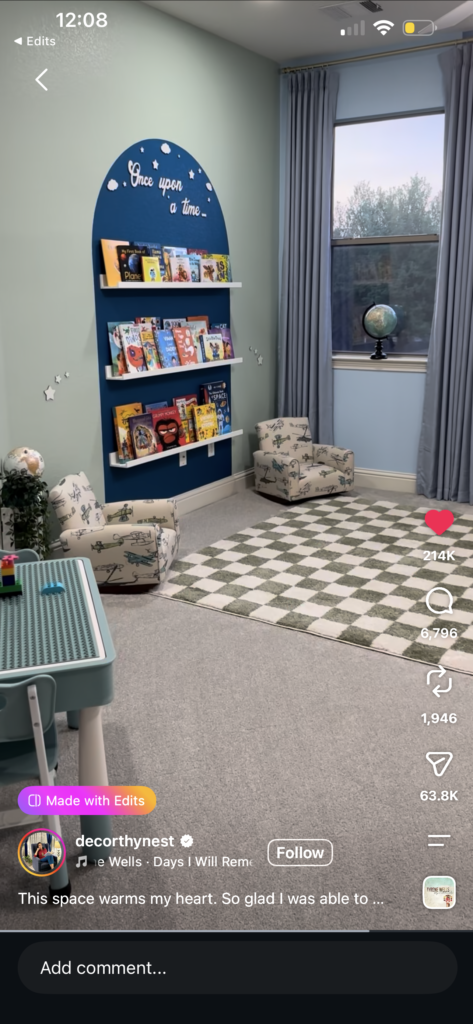
So, naturally, I decided to make one of my own.
Here’s exactly how I created my daughter’s reading nook.
What You’ll Need
-
- A drill, drill bit, and screwdriver
-
- Floating shelves of your choice [link to the ones I used]
-
- Paint in your preferred color
-
- Paint brush
-
- Optional: Cricut machine for creating your own wall decal
-
- Optional: Etsy account if you’d rather purchase a wall decal
Step 1: Measure Everything
I cannot stress this step enough.
Measure everything before you pick up the paint brush. Trust me—I learned this the hard way. My measurements actually came back to bite me after I had already painted the wall.
Start by measuring where you want your floating shelves to go and how much space you want between each shelf. Then measure exactly where the holes will need to be drilled into the wall.
And most importantly, measure your arch.
I recommend making the arch slightly wider than the total width of your floating shelves. You’ll also want to make sure the arch is evenly spaced on both sides so the finished look feels balanced.
Once you have all of your measurements, sketch your arch directly onto the wall. I used a very faint pencil line so I could easily follow the outline while painting without having to worry about seeing the line through the finished paint.
Step 2: Drill Your Holes
Before you start painting, drill the holes for your floating shelves.
Doing this beforehand makes the cleanup process so much easier. Trust me—you do not want to finish painting your beautiful new arch only to start drilling into it and have dust and debris all over your freshly painted wall.
Measure twice, drill once!
Step 3: Paint!
This is the fun part.
Using the outline you created in Step 1, paint your arch in your preferred color. I used two coats to make sure the color was even and fully covered the wall.
Once the paint is completely dry, install your floating shelves.
And then comes my favorite part: decorating!
Step 4: Add Your Finishing Touches
For the final touch, I added a wall decal above the shelves. I chose the phrase “Once Upon a Time” because I thought it was the perfect little nod to all of the stories that will hopefully fill this space.
But you can make this part completely your own. You could use your child’s name, a favorite quote, or another phrase that feels special to your family.
Then fill the shelves with your favorite books, add a few decorative touches, and you’re done!
The Finished Nook
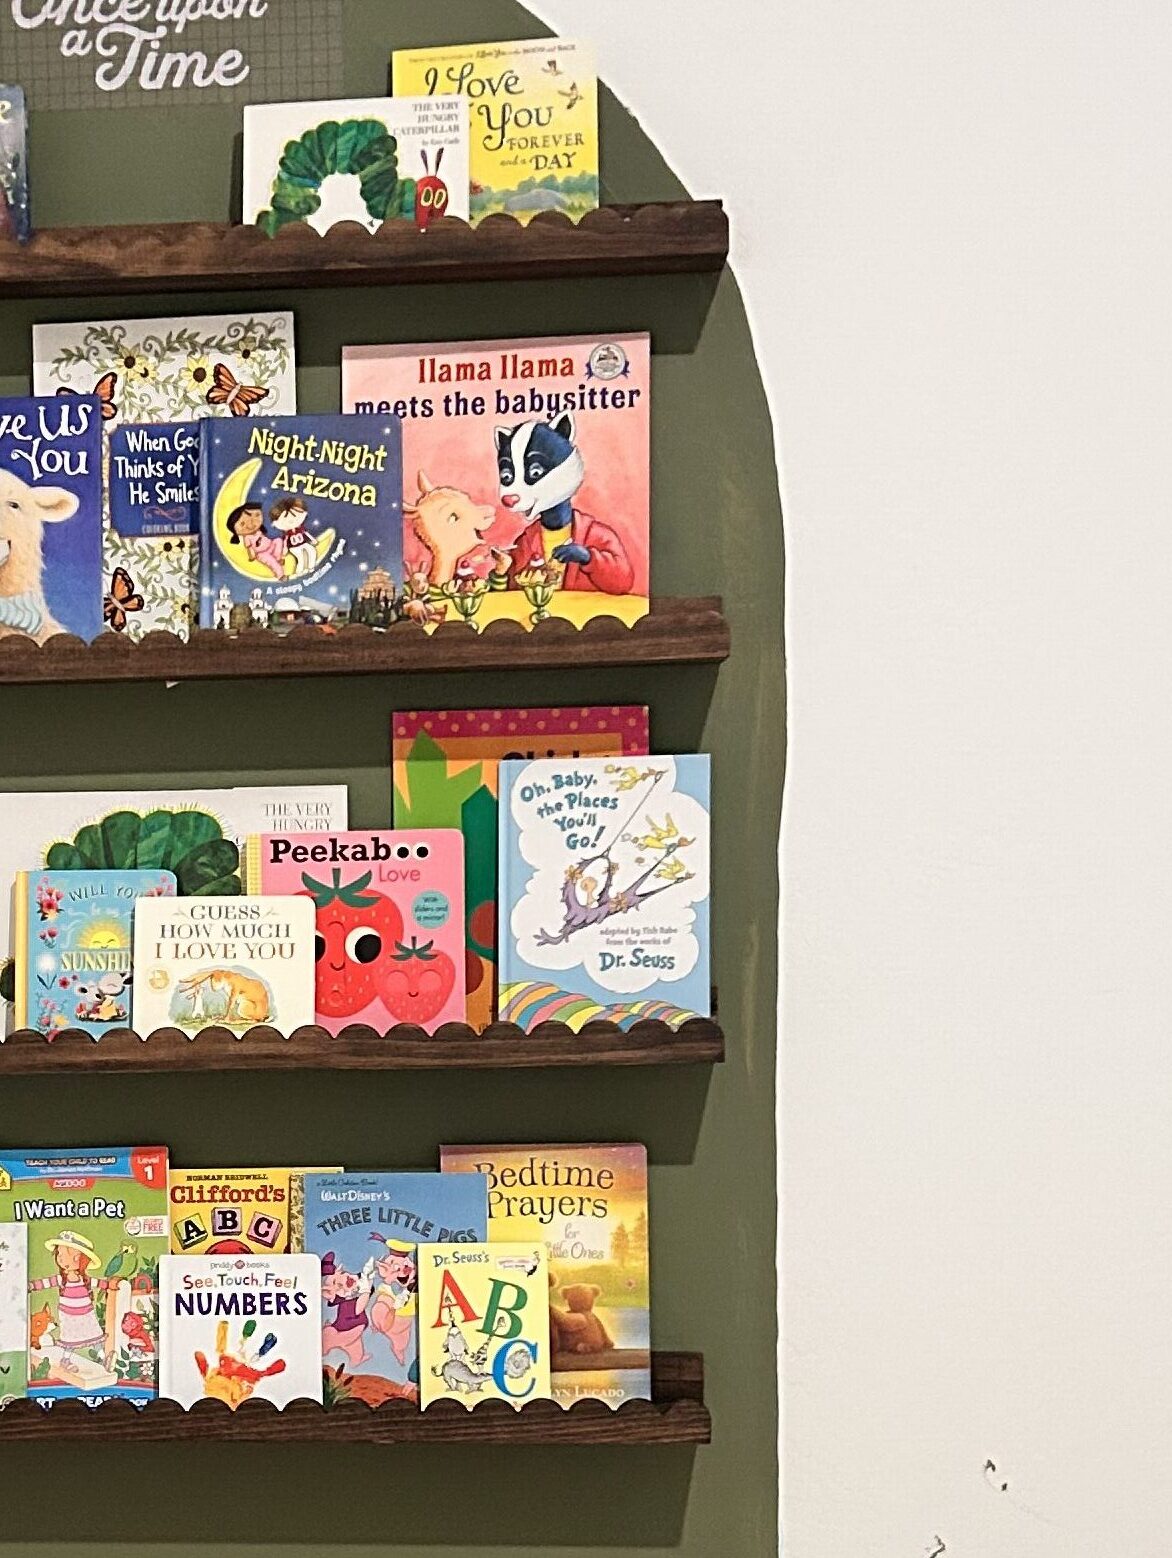
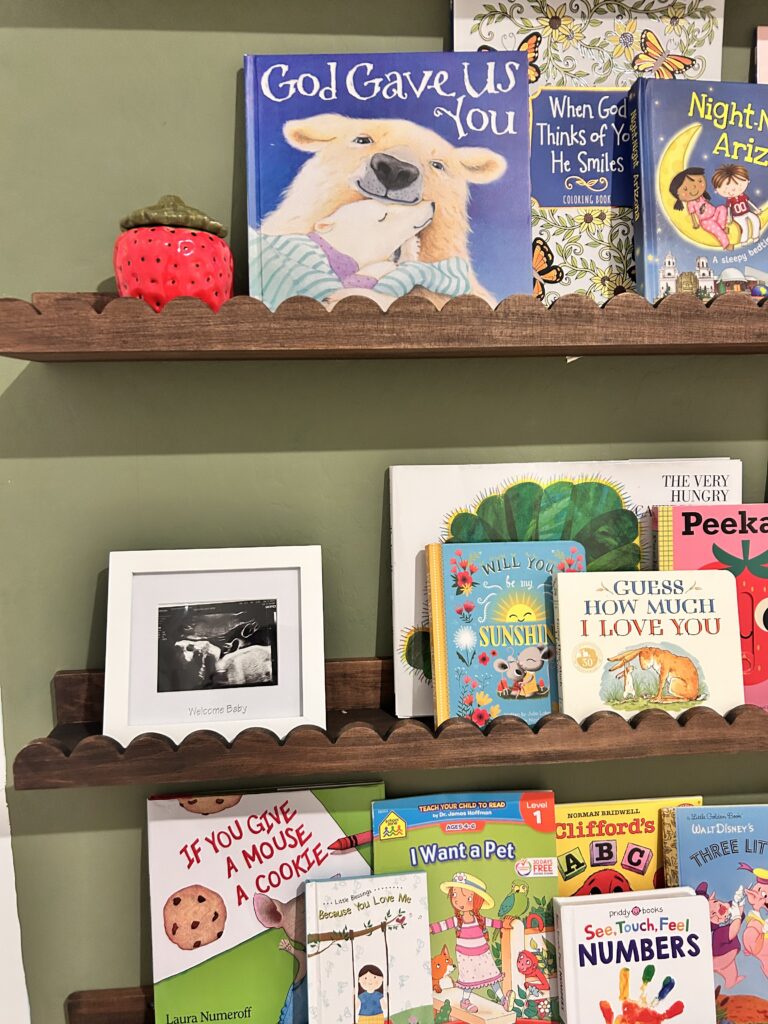
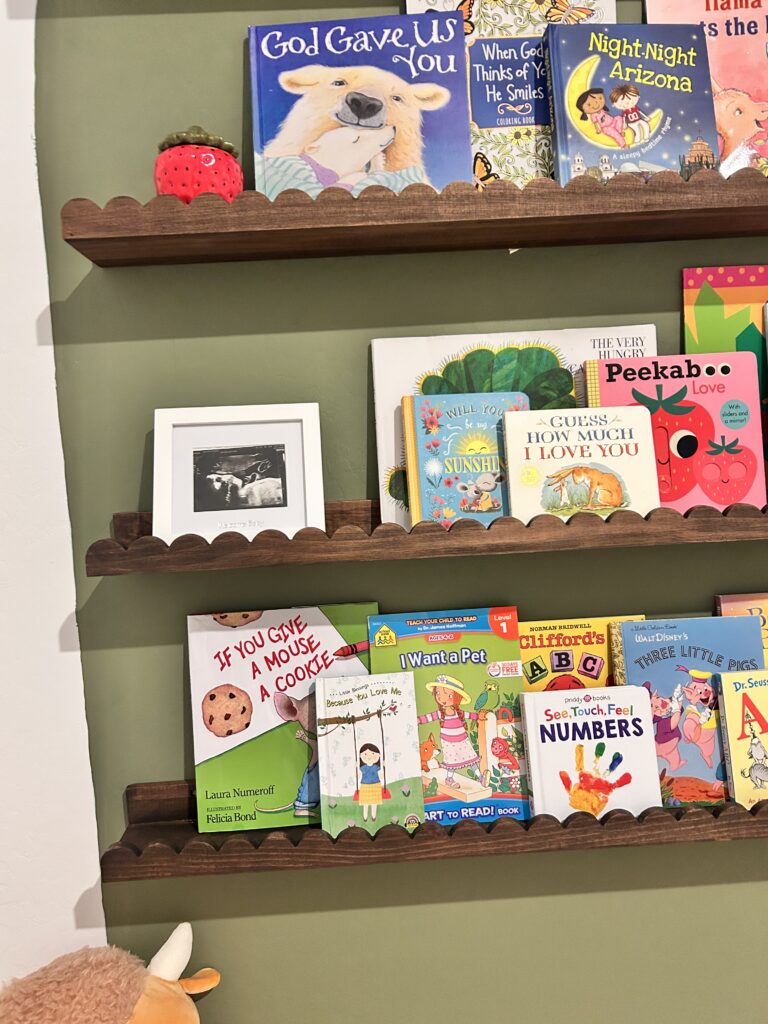
The entire project took me about two days to complete—not because it was particularly difficult, but because I had to work around my daughter’s nap schedule and make sure she wasn’t too much in the way.
And honestly, I wouldn’t have it any other way.
What started as an empty corner is now a little space dedicated to stories, imagination, and hopefully a lifelong love of reading.
It may just be a reading nook, but to me, it represents something much bigger: creating a home where my daughter can grow up surrounded by books, creativity, and the freedom to dream.
And that makes every drill hole, paint splatter, and measuring mistake completely worth it.